
How to Install an Irrigation System Step by Step
- Lifetime Tree Service & Landscaping

- 6 days ago
- 4 min read
Your lawn is dying. Not because of the heat. Not because of the soil. Because hand-watering is inconsistent, and inconsistent watering kills grass slowly.
Installing an irrigation system fixes that. It puts watering on autopilot, covers every inch of your yard, and saves you from dragging a hose around.
This guide walks you through the full process. Whether you want to learn what irrigation system installation involves or you are ready to grab a shovel and get started, everything you need is right here.
From planning your layout to testing each zone, we break it all down in plain language so you can move forward with confidence.
Step-by-Step Guide to Installing an Irrigation System
Step 1: Plan Your Layout
Start by sketching a map of your yard. Mark where your garden beds, grass areas, and trees are located. This helps you figure out which zones need water and how much.
Think about the type of watering and irrigation systems that fit your needs. A lawn usually needs a sprinkler system.
Garden beds and trees often do better with drip irrigation systems. These systems deliver water slowly at the roots. They also help reduce evaporation.
Measure your yard and note the water pressure coming from your main line. This will help you choose the right number of sprinkler heads and determine how many zones your setup will need.
Step 2: Gather Your Materials
Before you dig a single trench, make sure you have everything you need. A proper sprinkler system installation requires the right materials from the start.
Here is a basic list of supplies for a standard lawn sprinkler system:
• PVC or polyethylene pipe
• Sprinkler heads (pop-up or rotor style)
• Backflow preventer
• Irrigation valves and valve box
• Timer or smart controller
• Pipe fittings and connectors
• Trenching shovel or trenching machine
Step 3: Mark and Dig Your Trenches
Call 811 before you dig. This free service will mark any underground utility lines in your yard so you can dig safely.
Use flags or spray paint to mark where your pipes will run. Trenches should be about 6 to 8 inches deep in warm climates. In areas that freeze, dig deeper to protect your lines from frost damage.
For large yards, renting a trenching machine will save you a lot of time and energy. For smaller spaces, a flat spade can get the job done.
Step 4: Install the Main Line and Valves
Connect your system to the main water supply line. Install a backflow preventer first. This keeps irrigation water from flowing back into your drinking water.
Add a pressure regulator as well to protect your sprinkler heads and drip lines from water pressure that is too high. Next, add the irrigation valves that control each zone.
Place your valves in a valve box buried at ground level. This makes them easy to access for maintenance or if you ever need to handle repairing irrigation valves down the road. Each valve controls one zone, so label them clearly.
Step 5: Lay the Pipes and Connect Sprinkler Heads
Run your pipes through the trenches from the valve box to each zone. Use fittings to connect sections and make turns. Keep connections tight to prevent leaks.
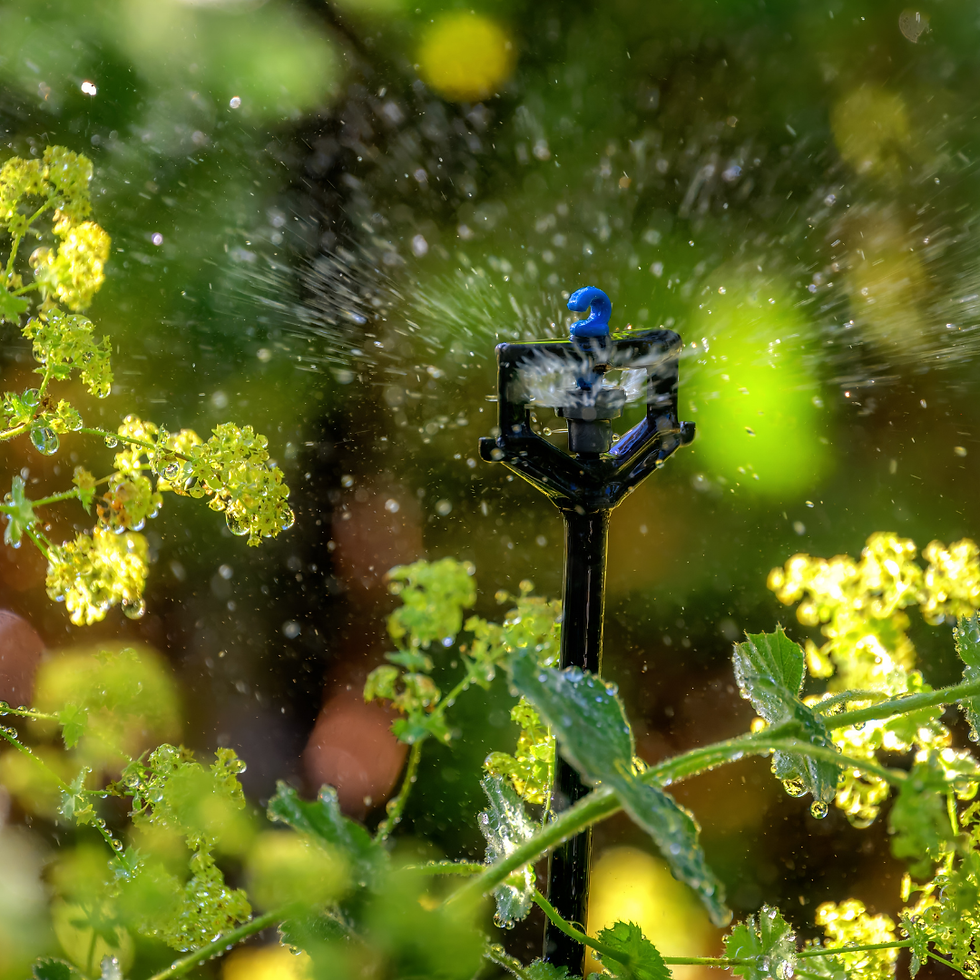
Attach your sprinkler heads at the end of each pipe run. Space them so the spray patterns overlap slightly. This prevents dry spots. For garden beds, this is also where you would switch from a lawn sprinkler system setup to drip lines.
If you are setting up an above ground sprinkler system as a temporary option, you can connect hose-end sprinklers to a garden hose without digging. This is a simpler solution for renters or small areas.
Step 6: Set Up the Timer and Test the System
Connect your controller or timer to each valve zone. Program your watering schedule based on your plants and local climate. Most lawns do well with two or three waterings per week during warm months.
Turn on each zone one at a time and walk the area while it runs. Look for heads that are not popping up, spraying unevenly, or leaking at the base. Adjust the angle and coverage on each head as needed.
Once everything looks good, backfill your trenches and tamp the soil down firmly. Reseed any disturbed grass areas and you are done.
Quick Tips for a Successful Installation

• Water in the early morning to reduce evaporation
• Use a smart controller to adjust watering based on weather
• Check your system each spring before turning it on for the season
• Drain all pipes before the first frost to prevent cracking
• Inspect your drip irrigation lines monthly for clogs or breaks
When Should You Call a Professional?
Not every homeowner wants to handle the full installation of a sprinkler irrigation system on their own, and that is perfectly okay. Some projects are large enough that hiring a pro makes more sense.
If your yard is large or has complex zones, a professional can design a system that gives you full coverage without wasted water. They also handle irrigation system repair quickly if something goes wrong after installation.
Professional installation also comes with warranty coverage and peace of mind. You know the job is done right from the start.
Let Lifetime Tree Service & Landscape Handle It For You
Installing a watering system the right way takes planning, the right tools, and a solid understanding of how each part works together. If you would rather skip the digging and get a system that works from day one, our team is ready to help.
At Lifetime Tree Service & Landscape, we design and install residential irrigation systems built to last. We also handle irrigation system repair, valve replacements, and seasonal tune-ups so your lawn always gets the water it needs.


Comments